Showing posts with label front door. Show all posts

Week 21: Front Entry Light

That's right folks after many months of looking, 5-6 months I think. We have a new front entry light!!!

Isn't she beautiful? And what made her 'can't pass it up' worthy was the price tag... only $30.00!!! 
 
As you may remember we sold all three of our matching light fixture (that were with the house when we bought it) to a nice lady on craigslist back in January. We have successfully replaced the dining room light and the kitchen light and were looking and looking and looking for a new entry light. We had brainstormed various options... pendant lighting, chandelier, flush mount, semi-flush mount, anything and everything. Price was a big factor and the size. Lots of the lights we found were just a smidge too big for the doors or hung a bit to low for forehead safety. Then one day we took a car ride to Buds Warehouse. We walked in and right there on the counter were two identical light fixtures. I knew we needed one. I quickly asked about the price and was relieved, shocked, and exited that it was only $30! I picked it up like a hot cake and Andy hung it up the next morning. I love it!!! And what do you think? Do you love it too?

Posted by Picasa

Week 18: Front Porch Chairs

I am totally over "matchy matchy" and our front porch chairs were exactly that. The perfect beige to match the beige trim on our house. This winter I decided that I wanted to spray paint the chair to add some color. But then I was thinking that I should just make a slipcover for the chairs to add some BOLD color to our curb appeal.


I was all over the place at Joanns trying to pick a good outdoor fabric. I didn't want to regret my decision and pick a "safe" color scheme. I had some bright blues in my cart for a while but ultimately choose these two fabrics. I love the branches and the birds. The pillow in the contrasting color I love it. It seems to calm down the bright coral a bit. I did lay each of the fabrics over my two chairs and was leaning toward the circle fabric in the slipcover but in the end went with my original plan and as of right now I have no regrets. Until the HOA says something to us!!!


So here is the chair in all her glory. The best part is that I have them attached with ties so I can take them off and wash them as needed. There is a second chair and it is on the front porch as well but I am too embarrassed to show a full picture of the front of our house until I get some flowers planted. Look at our grass, thank goodness we got the sprinklers turned on last week! A full curb appeal picture will be coming soon!

Posted by Picasa

April Hutch...


Well this month's hutch was a big failure! I am embarrassed to even show it but hopefully the embarrassment will help me get my act together for next April. I had originally planned on doing the hutch in pastels, for Easter of course, but then I started getting excited about yellow. So I made a last minute switch and couldn't get it together. I knew that we were not hosting Easter so I didn't put any pressure on myself to compete it. I did however manage to make the yellow balls out of yarn, a balloon, and Elmer's glue. They look cute and will resurface when I attempt yellow again. Sorry April.

Posted by Picasa

Week 14: Cubbies


No not the baseball team. My new helper. What might not be known is that I have an in home daycare. And, at our front door I have did have what is pictured below. (Bulletin board with papers, receipt book, stickers, ect.) Scattered around my house were random pacifiers, receipts, artwork, shoes, socks, anything and everything.
I had a white cubby that I had gotten at a thrift store when I started my daycare. It was in my basement but was not utilized so I decide to paint it brown and put it by the front door for my families to put things for the kids and for me to put things for the parents. It is working great and now I am a bit more organized! I dig it!

**Note: This picture was taken on a weekend so there was no random "stuff" lingering about!
Posted by Picasa

Week 5: Coat Rack Wall

Andy aka General Contractor forgot to take a picture of the wall before he started attaching our coat rack wall. Or I didn't snap a before picture fast enough before he started going to work. So here is a picture of the frame of our coat rack wall.

We used 1x4 for everything and ripped one 1x4 to make it into a 1x2, thanks to a friend with a table saw. Once Andy got the wood up with finishing nails and liquid nails then he filled nails holes with caulk. He painted 2 coats of paint and we realized that there was a piece of wood that was not flush with the wall. So when Andy went skiing I the kids, grandma, and I went to Home Depot for Kids Build Day (making up my own name for the first Saturday of the month party at Home Depot where they have popcorn, building projects for kids, and a giant battery walking around) and I got painters caulk. When we got home I filled in all the gaps and seams with the caulk, let it dry, and gave the wall and wood another coat of paint. Then I hung up our hooks, from Hobby Lobby, and called it a day.


I love it!!!! We just need something or somethings on the top ledge. I am thinking a picture frame for sure not sure what else to add. But I will keep my eye open for something that wants to be transformed from Goodwill.
Posted by Picasa

Valentines: Indoor Fabric Scrap Wreath

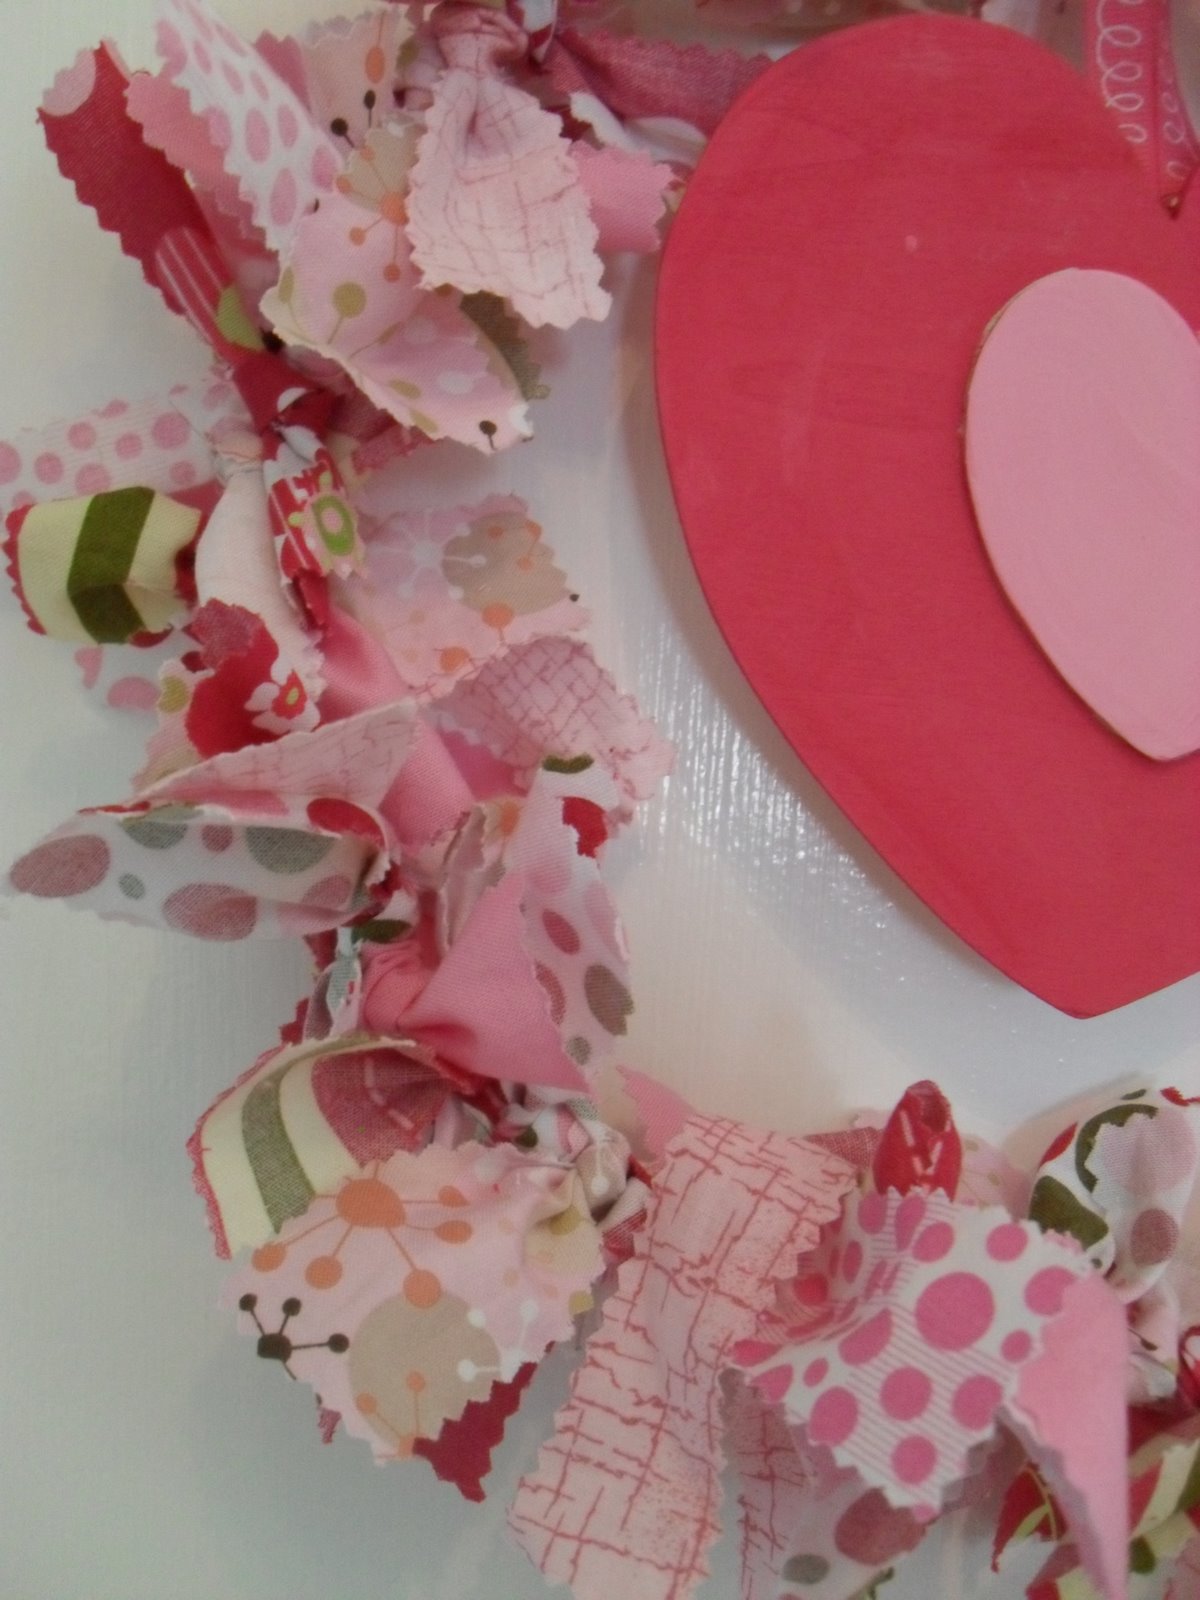
I don't even know who to give credit to for this idea. My sleep deprived mind didn't dream it up but someone in blog land did and it seemed easy enough so I decided to give it a go.

I took a look through my scrap bag and pulled out all the fabric that had shades of pink. I cut each piece, with shears, into a 6-7" rectangle. Once I had a good start I took a wire hanger and with wire cutters cut off the hook and twisted the ends together. Then I started tying each fabric on the hanger. Surprising myself I didn't do a pattern I just made sure that any of the bold pinks or the pink with green we not right next to each other. I think it turned out pretty cute and it was super easy! I am debating to do another one, green, for St. Patricks Day!

Posted by Picasa

Valentines: Front Door Addition

I thought my pink beads addition was pretty cute for the wreath at my front door. But then I saw a tutorial for a Kissing Ball and I had to make a few.
They look a little like lollipops. And I am thinking that trimming the dowel rod down may lower the lollipop factor or getting some moss too. I am heading to Hobby Lobby and Michaels after dinner... moms only! And may pick up some moss while I am there.
There is one more part to my Valentines front door that I have to finish start but the weather needs to get a bit warmer to break out the spray paint. I checked the 10 day forecast and this weekend looks promising.
Posted by Picasa